Home security camera installation is undoubtedly one of the most popular improvement projects of the modern age. In fact, Australia’s Security System Installation and Monitoring industry was valued at $2.1bn in 2023 while it continues to grow at speed. If your property isn’t currently protected by CCTV, this is the perfect time to put things right.
CCTV installation and mounting security cameras may sound like a daunting task but most people are capable of completing the assignment through a DIY approach. Better still, the benefits include deterring potential burglars and gathering evidence in case there is an intrusion. Most importantly, it is a move that will give your family the peace of mind it deserves.
In this guide, we’ll guide you through the surveillance camera installation process, including the products you will need and the steps required to unlock the full potential of your system.
What You Will Need for Your Security Camera Installation
Research shows that 8% of Australians experience a break-in or attempted break-in each year, which is why mounting security cameras to the home should be seen as a priority project.
Before starting the home security camera installation, though, you must equip yourself with the right products. Use the following checklist for guidance;
- WiFi - make sure your router is positioned in a location where a strong signal can reach the cameras. You can always invest in a signal booster if needed.
- Smartphone - it can be Apple or Android, but should be compatible with the manufacturer’s App used to monitor the systems.
- Security cameras - Smart CCTV cameras and surveillance camera accessories are the most popular choices in 2024.
- Ladder - depending on the location of where you wish to install the cameras, you may require a step ladder or a full-size ladder.
- Assembly tools - a screwdriver, drill, pencil, hammer, and screws will be required to install cameras and mounts.
Finally, it's worth reading the manual for your security cameras before completing the CCTV installation. Aside from allowing you to complete the project with confidence, it’ll give you a chance to learn the features of your chosen model.

Home Security Camera Installation: 7 Steps for Success
When installing security cameras, you should acknowledge that different camera manufacturers and models may work slightly differently in monitoring the cameras. However, the installation process is virtually the same for all models.
Here’s all you need to know.
1. Install the App on your Smartphone
The first thing you should do after receiving your security cameras is install the appropriate App on your smartphone. The likes of Arlo, Concord, Nettech, Swann, and Uniden all have their own software applications. So, you must download the right App for the cameras you’ve purchased.
Using the App will subsequently allow you to complete the setup by connecting your cameras to WiFi and registering your details. It also allows you to monitor the situation with real-time status updates and images. You can even gain notifications directly to your smartphone, thus resulting in convenient remote monitoring.
Creating your account before starting is highly advised as you won’t be able to tell if the security camera installation has been a success until you do.
won’t be able to tell if the security camera installation has been a success until you do.
2. Plug in the Camera
Most security cameras are now wireless models, meaning you only have to worry about the wiring. Whether it’s a USB-C connector or another type, it makes sense to test the camera and complete the setup in a convenient location before relocating it at a later date.
When you plug your camera in, you should notice that a power light becomes illuminated. Many models also have an additional light to let you know the status of the camera - such as confirmation of connection to the WiFi network. You will need to read the manual for your chosen model to see exactly what each light colour or pattern indicates.
If your home security camera installation project involves several CCTV cameras, you’ll have to plug in each piece of hardware and repeat each step in this process.
3. Sync Camera to App
Turning the CCTV camera on is one thing, but you must also connect it to your system. This step will connect the hardware to your WiFi network to ensure that data captured from it can be sent to the App for you to monitor.
The exact method of syncing cameras to Apps will vary depending on the model. In most cases, though, you’ll need to;
- Open up your App and sign in to your account.
- Click “Add Camera”, “Add Device”, or a prompt with similar wording.
- Follow the next steps, which could include scanning a QR code with the camera or typing in the serial number/password on the camera through the App.
- Wait for confirmation of pairing, which could come courtesy of a colour change, an audio notification, or an update in the App.
You should also test the situation by checking that the App picks up the camera feed - even though the device isn’t currently in the right place.

4. Pick the Location
Now that you know your camera works and is connected to the App and home WiFi network, you must consider where you want to install security camera devices. Once again, you will need to repeat this particular step for each camera in the system.
You will need to consider the distance between the camera and your router while also opting for locations where you gain maximum visibility of the area you wish to survey. Meanwhile, the most popular spots are near potential access points, including;
- Front door and porch,
- Back door,
- Garden and garden building,
- Garage.
You could also include interior cameras that show the hallway or individual rooms. Generally speaking, the best spots will give you a high vantage point looking down over the chosen part of the property while also avoiding sunlight.
5. Check Signal Strength
The home security camera installation is only successful if the camera can be picked up by the WiFi system. An internet speed test should give you a better idea of whether the network will be capable of satisfying the demands when you have multiple cameras to consider.
To check the signal strength, plug the camera in and hold it close to where you want to mount it. You can then open the App to see whether the live stream is supported by a reliable connection.
If the signal is weak, you may have to relocate the camera. If you are determined to keep the camera in its current location, various tools like signal boosters and wired setups should enable you to avoid this issue.
6. Mount the Security Camera
When thinking about how to install security cameras, actively mounting them is usually the issue that puts people off. However, just as you don’t need to be a tech expert to use the App, you needn’t be a professional builder to get this right.
Of course, you’ll need your ladder to reach higher points just like you did when picking a location. While it only takes one person to mount the camera, you may want a second pair of hands to pass you the various tools used in the installation too.
The mounting equipment should be included with the device itself. Meanwhile, the process of actively mounting security cameras is as follows;
- Mark holes using a pencil on the wall or structure that you plan to mount them on. Many CCTV camera installation packs include templates that stick to the wall and show you where to drill for optimal accuracy.
- You can also use your smartphone as a spirit level to check that the holes are aligned and straight. This will prevent you from making a costly mistake.
- You should also confirm that it is safe to drill the wall or structure by using a stud or cable finder
- Drill into the marks to create appropriate-sized holes. They should be large enough for your wall plugs to fit.
- Use a hammer to gently tap the wall plugs into the holes. This step protects the wall, and most camera mount setups include these as standard.
- Attach the camera base or mount by screwing it in with the screwdriver before attaching the camera to the bracket.
You will then need to repeat this with each camera, ensuring that each one is securely fixed to the wall.

7. Adjust Angle
By now, you will have your cameras successfully mounted to the walls and ready to view on your App. However, even the best smart cameras will only function as desired if they are correctly positioned.
To do this, you will simply need to;
- Open the App.
- View the live stream.
- Move the camera angle until correct.
- Repeat with all cameras.
The right angle will allow you to see the maximum amount of space while also being free from obstructions or direct sunlight. While most cameras require manual repositioning, some can be controlled remotely from the App. Either way, completing this step will complete the security camera installation and prepare you for years of increased home security.
The Final Word on Home Security Camera Installation
CCTV systems are an essential feature for any home and will go a long way to helping you avoid break-ins while also significantly enhancing your love of the property. Given that security camera installation is a relatively easy job in which systems can be adapted should your needs change, there is no excuse to stay vulnerable.
For more advice on finding the best home surveillance camera systems for your family, contact Jaycar’s friendly experts today.

Installing Security Cameras: Your How-To Guide

1080p Wi-Fi IP Camera with Security Alarm
CAT.NO: QC3870
Available for delivery
Available for delivery
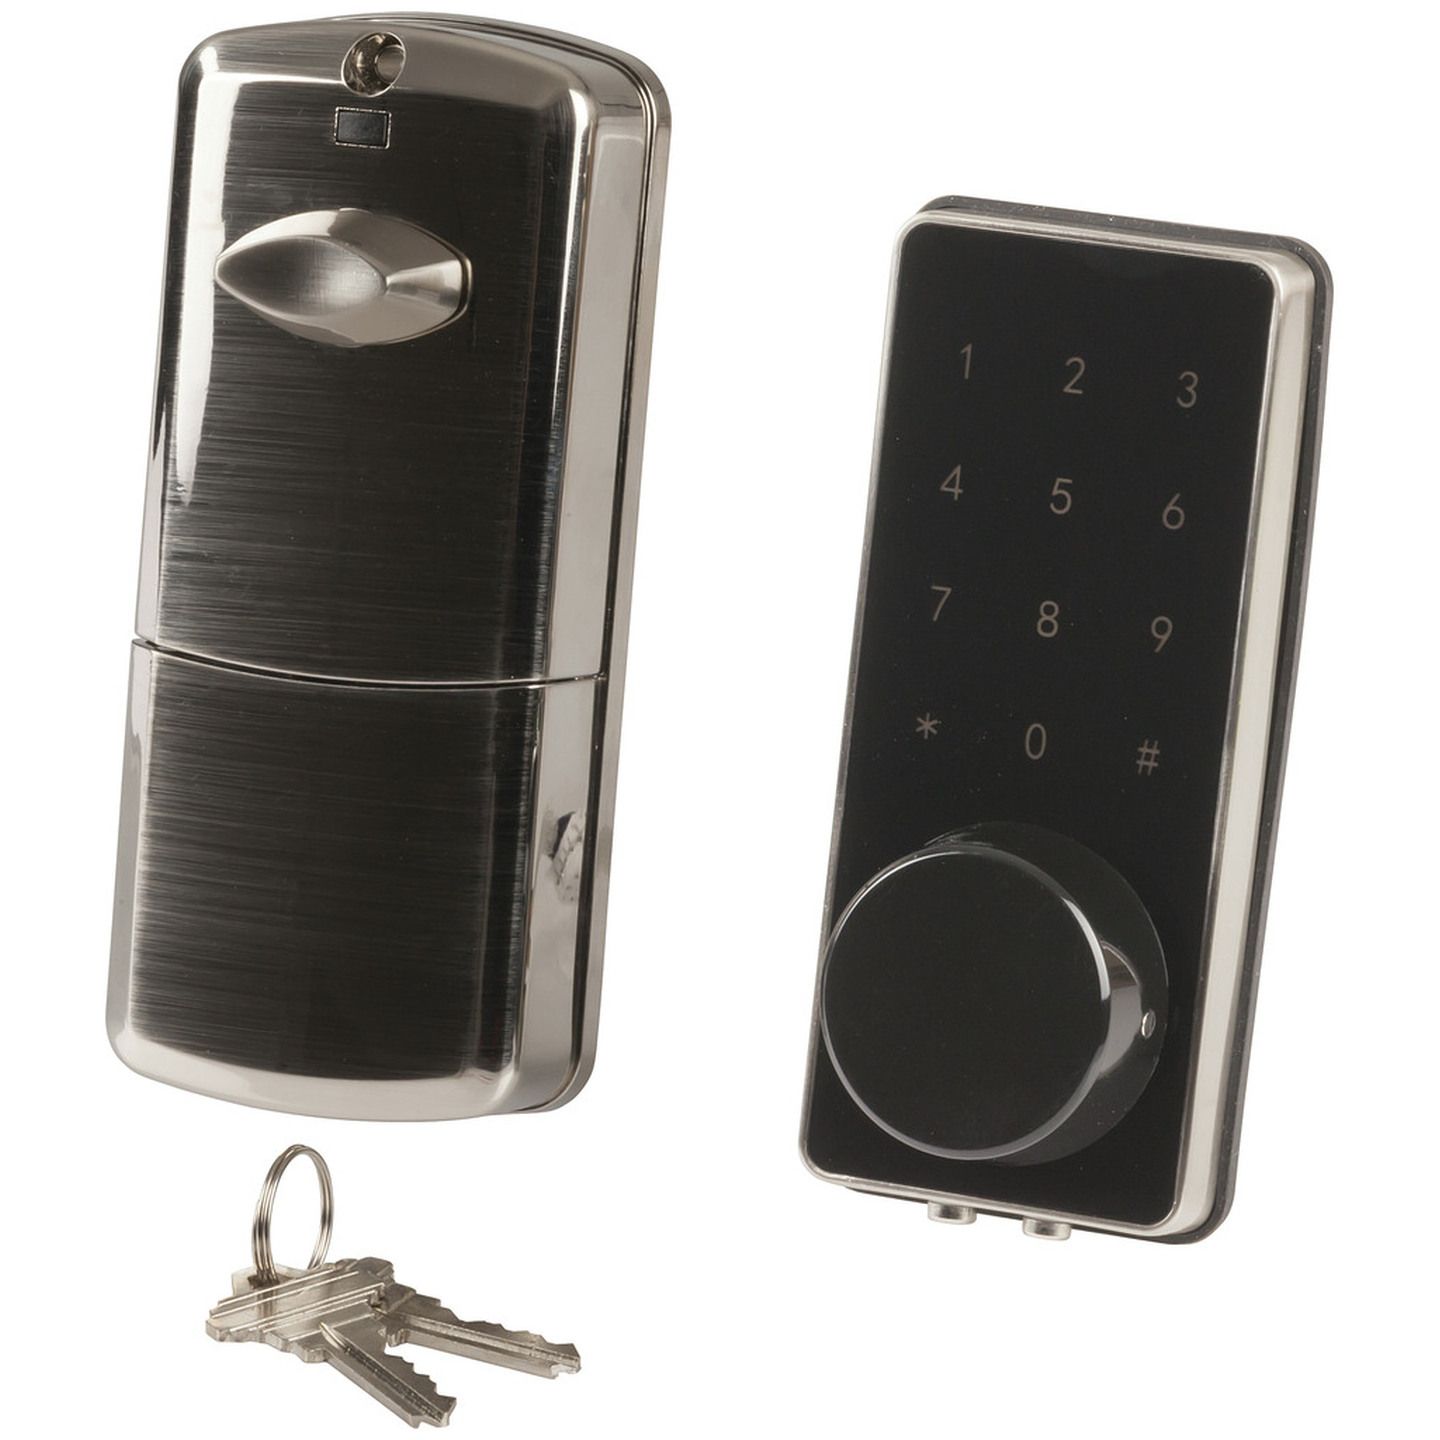
Smart Lock Deadbolt Kit with Bluetooth Technology
CAT.NO: LA5095
Not Available for delivery

1080p Smart Wireless Video Doorbell and Chime
CAT.NO: QC3886
Available for delivery

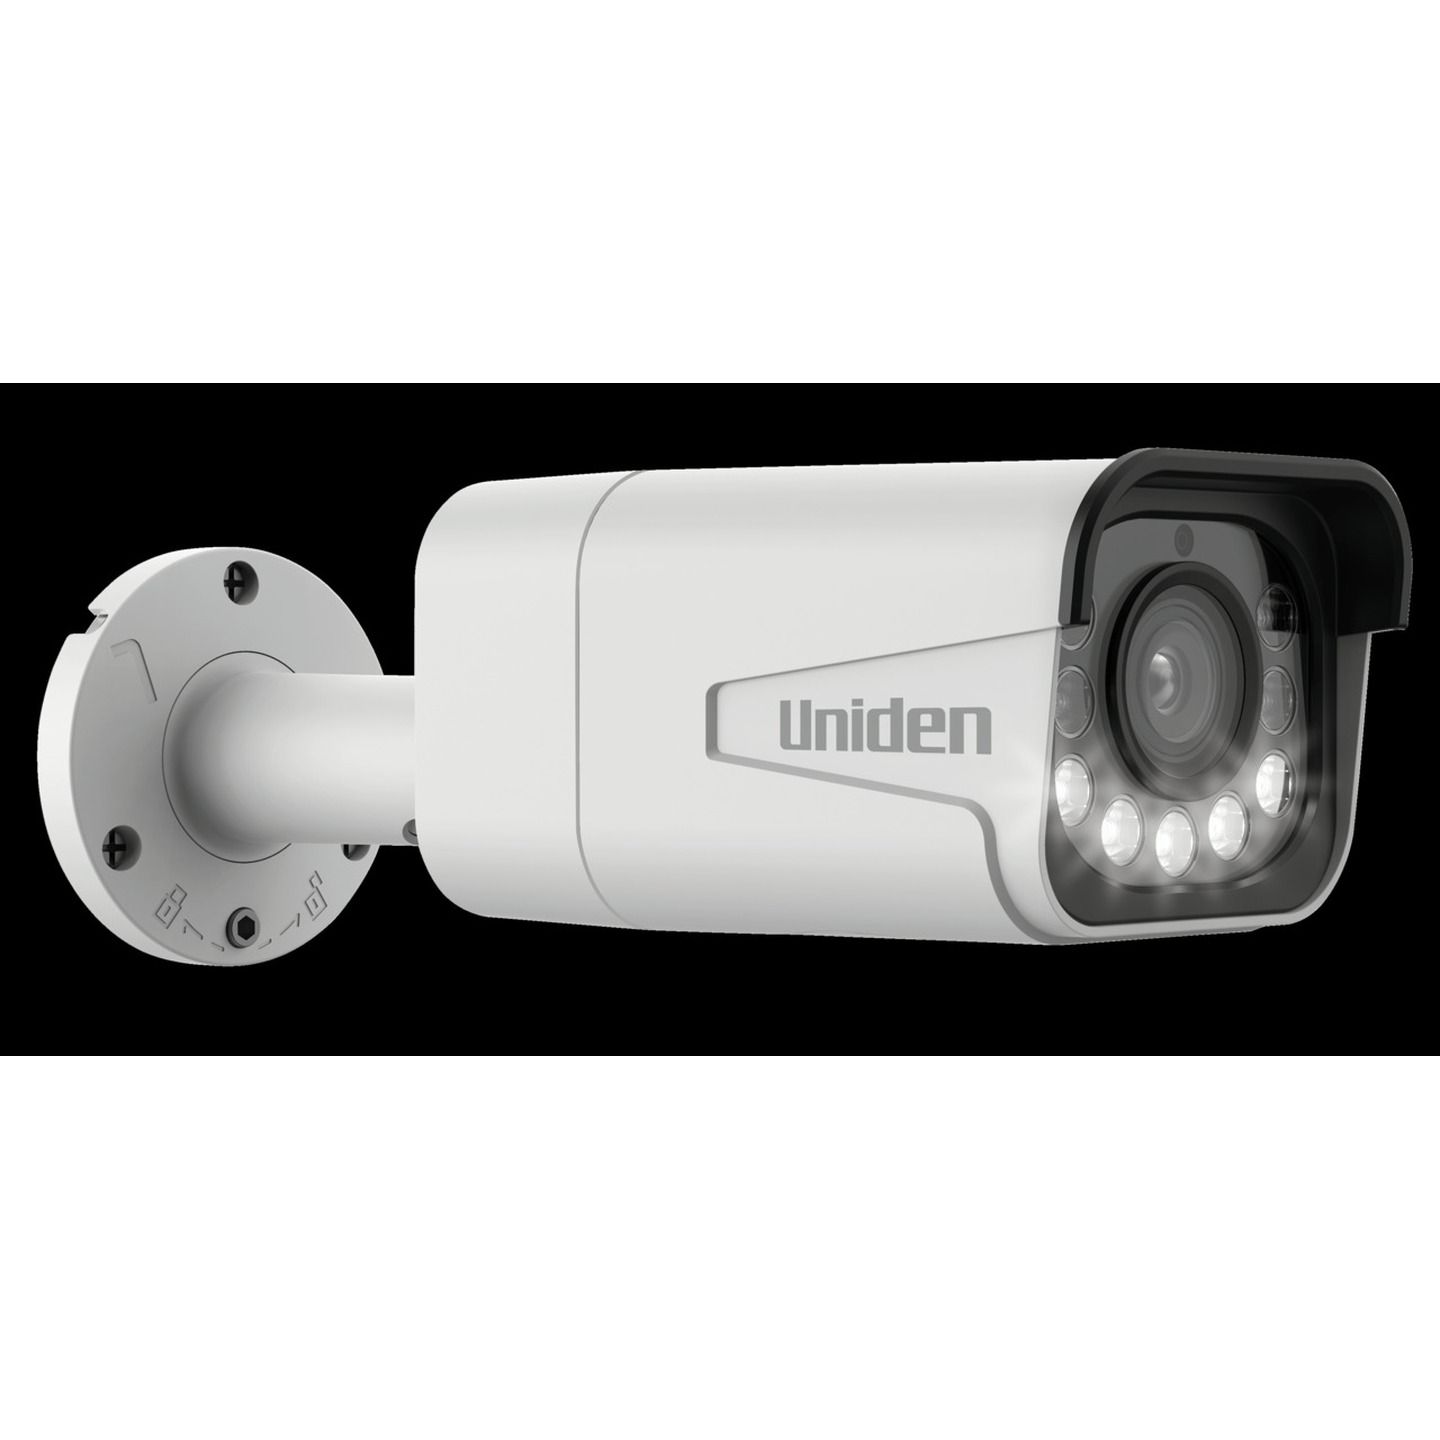
Dummy Camera with LED Spotlights
CAT.NO: LA5342
Available for delivery