Step 1: Get the Source Code File
Download the project source code from
. If the source code file is zipped, then extract the file and place it in your Arduino IDE directory (normally /Documents/Arduino/Sketches/...).
Step 2: Configure Your Wi-Fi Settings
Open the project source file in the Arduino IDE. Change the following parameters to your Wi-Fi network SSID and password:
1 cost char* ssid = "your Wi-Fi SSID here"
2 cost char* password = "your Wi-Fi password here"
Note: Include the " in the above variables.
Step 3: Upload Your Source Code
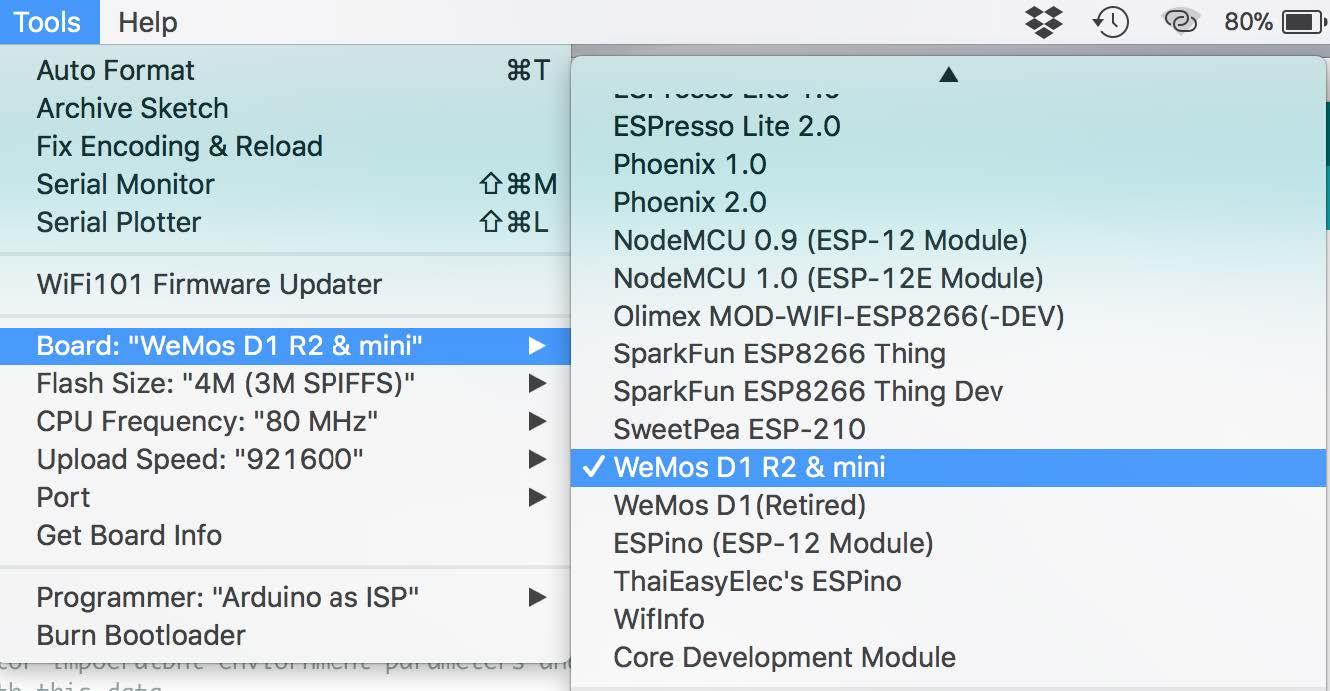
Make sure you have selected the correct target board, under the 'Tools' menu:
Make sure the you have connected the ESP8266 board to your computer and you have selected the correct USB port. Now upload the source code to your ESP8266.
After the upload operation is completed, under the 'Tools' tab, click on 'Serial Monitor' to open a serial monitor window (make sure the data rate is set to 115200 baud). You will be prompted with the Wi-Fi connection status as shown below
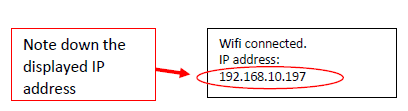
Write down the IP address that appears on your screen, in the above example this is 192.168.10.197 (this will be different for your network).
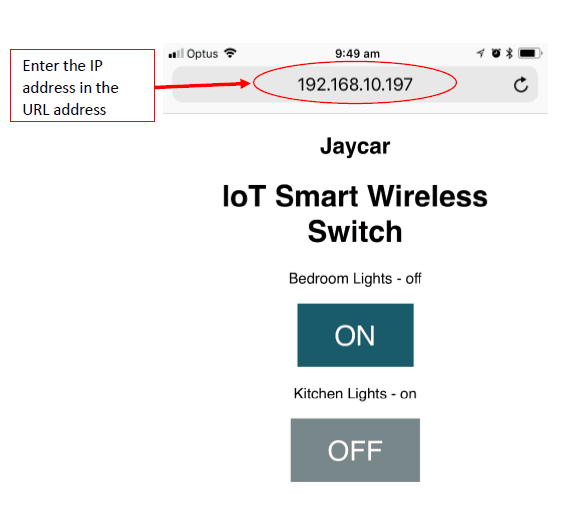
On your smart phone or tablet (or any PC for that matter) open a new web browser such as Microsoft Edge, Google Chrome, etc. In the URL address enter the IP address you noted from Step 3 above. Now you should see the IoT Smart Wireless Switch control screen, as shown below.
In the sample code we called the first switch "Bedroom Lights" and the second "Kitchen Lights", you can customise these labels by locating and editing the following code:
1 // Display current state, and ON/OFF buttons for Switch 1
2 client.println("<p><i>Bedroom Lights -</i> " + output_1_State + "</p>");
3
4 // Display current state, and ON/OFF buttons for Switch 2
5 client.println("<p><i>Kitchen Lights -</i> " + output_2_State + "</p>");
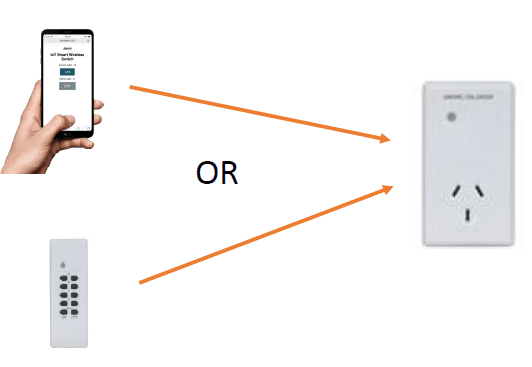
Step 5: Pair Power Switch
Now all you need to do is to pair your IoT Smart Wireless Switch with the mains power unit. This is a very easy operation; all you need to do is follow the steps below:
1. Make sure the main power unit is unplugged.
2. Now insert the main power unit to the mains power. You will see the red light flashing, this indicates that the unit is ready to pair.
3. On your smart phone control screen click either the first or second "On" button. Wait until the command is completed. Now you should see the red light on the mains unit stay on (stop flashing).
That's it, your IoT Smart Controller is now paired with your mains power unit. You should be able to now switch the power unit on or off by clicking on the control screen button. Note that only the button you paired in step 3 above will be connected to the mains unit. You can add another mains unit and pair it to the second button, you can even modify the code to add more mains controllers.