Getting started with coding isn't as hard as it sounds. With the right tools, you can create your own projects using an Arduino® compatible board. Here's how.
The Arduino® platform is incredibly powerful. It's been used to create everything from simple sensor devices to complex scientific monitoring equipment. With so many possibilities, it can be confusing to know where to start. But, you only need a few things to get going.
Starting out
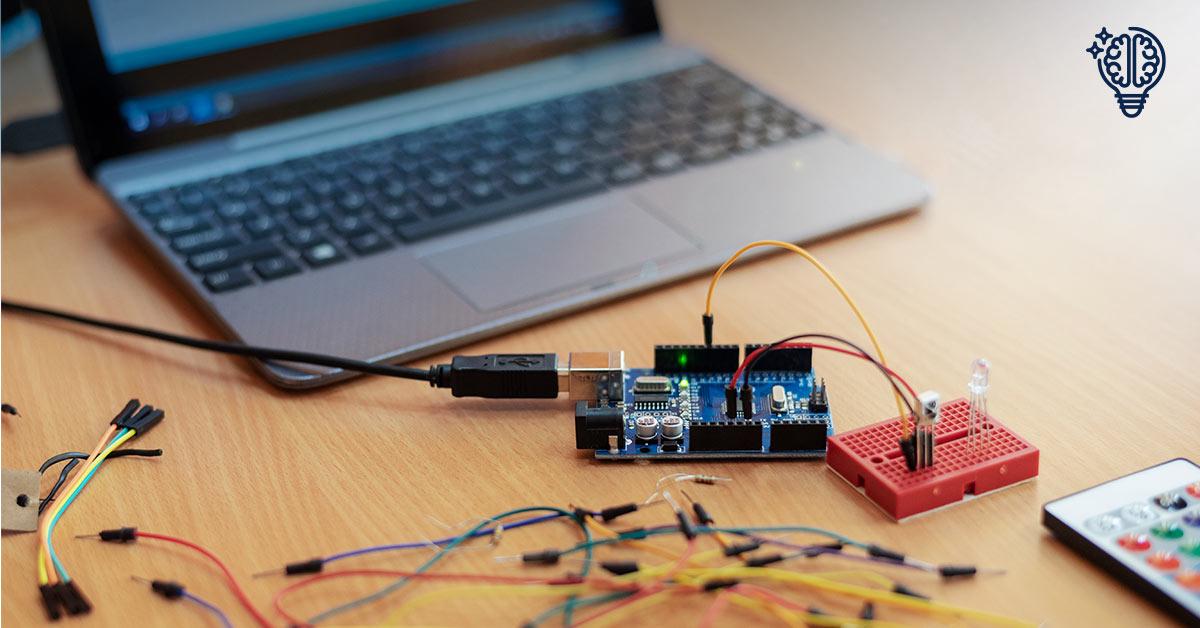
To begin, you'll need an Arduino® compatible board. This is the basic circuit board onto which you can add various accessories like sensors and components. For example, if you want to make a light in your room turn on and off based on the ambient light, you could connect a light sensor and lamp to the board.
But a far easier and more cost-effective way to kick off your Arduino® experience is to start with a kit that includes different accessories for different purposes. The Arduino® DuinoTECH learning kit includes an Arduino® compatible board, some sensors for detecting different types of inputs, modules that can respond to them, as well as an assortment of other components.
Programming
In order to create programs that run on the device, you'll also need to install some free software to your computer or laptop. This software is called the Arduino® IDE (Integrated Developed Environment) and you can download the latest version from the Arduino® website. It works on macOS, Windows and Linux.
The Arduino® platform uses 'sketches'. A sketch is a series of instructions you write using the Arduino® programming language. Once you create a program using this language on your computer or laptop device, you can transfer it to the development board by connecting the board to your device using a USB cable.
There are lots of tutorials and sample programs you can work from so you can learn how the language works. For example, when you're using the Arduino® IDE, go to the 'File' menu for the program and choose 'Examples', then '01. Basics', then 'Blink'. This will create a sketch that makes the 'L' LED on the board slowly flash.
There are also great resources where you can find lots of hints and ideas for your own projects. You can start with simple projects such as 'Blink' before moving on to more complex projects like creating games, powering motors or playing tunes.
To help you get started and to give you some inspiration, check out our reference books for more fun Arduino® projects, or visit our projects page here: https://www.jaycar.com.au/projects. We're excited to see what else you've done with Arduino®, so if you've created one of these projects or something else altogether, share it with us on Facebook and Instagram.