Get started in prototyping with these top tips on how to make your vision a reality.
So you've decided to take that leap into the great uncharted wilderness of developing your own electronics? Congratulations! Chances are, you’re going to be hooked for life. Here are some pointers to help any intrepid pioneer master the basics and successfully complete their first custom design.
Start with a concept
Be clear about what you wish to accomplish. Whether you want a pair of self-lacing shoes or a wall-dodging robot, you need a best-case vision of a finished product to work back from.
Modify existing designs
A great shortcut is to start with a simple low-voltage project that approximates your design, or performs some aspect of its function. From there, you can change individual components or integrate the device into a more ambitious multifunction project.
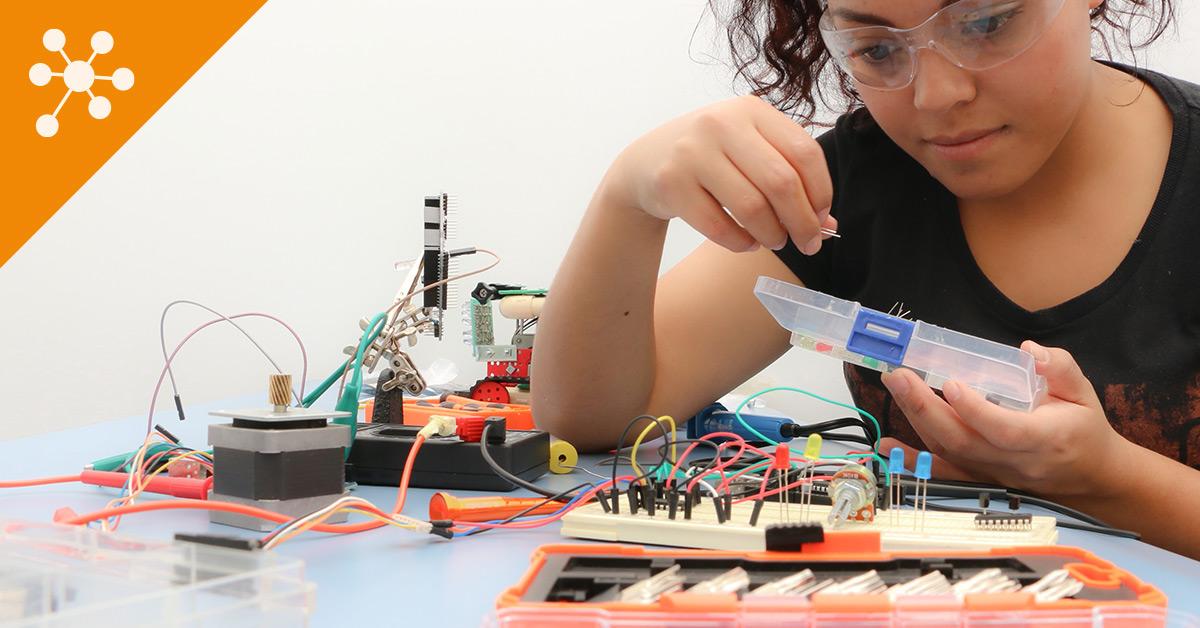
Use a solderless breadboard
A breadboard allows you to test-fit components by simply pushing the legs into the tie points. You can then create circuits by bridging individual lines with jumper wires, available in kit form, with various combinations of pins and sockets, and even alligator clips.
Make it permanent
Once your circuit is functioning the way you want it to, you can make it more permanent and durable by soldering the components onto a prototyping board with a similar connectivity layout to a breadboard. Alternatively, you can use an experimenter's board which allows you greater control over circuit routing. You can also design and create your own custom PCB (printed circuit board) using an etching kit, or the more advanced PCB printers like at the Jaycar Maker Hub.