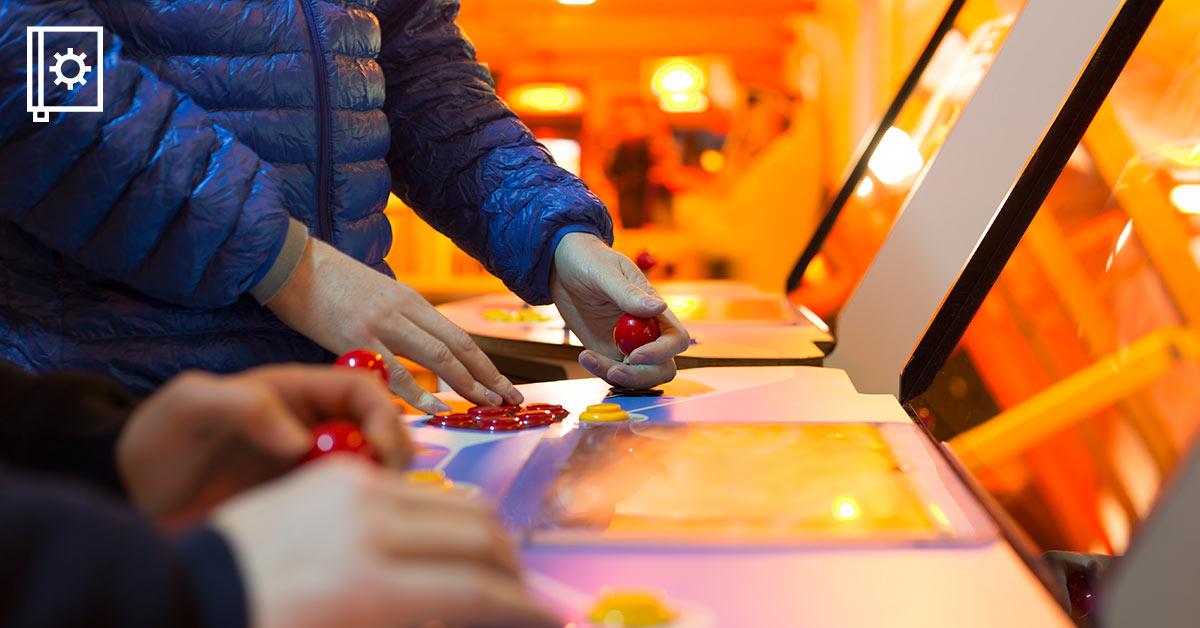
Instead of spending hours on Netflix, engage your brain and improve your hand-eye coordination with classic arcade games.
Building a gaming console so you can enjoy hundreds of classic games is easier than you think. With the right pieces, you can be playing an old-school game faster than a gorilla can squash you under a barrel!
What you'll need
‣ Raspberry Pi Retro arcade game console with HDMI port
‣ Raspberry Pi 3B+ single-board computer
‣ RetroPie OS on SD card for Raspberry Pi 3
‣ TV or monitor with an unused HDMI port
‣ 1 x Phillips-head screwdriver
‣ Keyboard
What your console kit includes
‣ 2-player console
‣ Power supply
‣ Spare buttons
‣ USB cable
‣ HDMI cable
‣ Screws and conversion kit
How to build the console
Step 1
Unscrew the 3 screws at the front of the unit and carefully lift the top of the console from the base.
Step 2
Unpack the Raspberry Pi board and the SD card with RetroPie pre-installed. The software on the memory card will allow the Raspberry Pi console to emulate a number of different gaming systems. Insert the SD card into the slot on the Raspberry Pi board.
Step 3
If you look carefully at the base of the game console, you'll notice that there are 3 holes about halfway along the back edge. Take the Raspberry Pi board and place it in the console case with the three ports on the circuit board lined up with the holes in the console case. Use the four small screws provided to secure the Raspberry Pi board into position.
Step 4
You'll notice that there's a HDMI cable inside the base of the gaming console. Connect that cable to the HDMI port on the Raspberry Pi board.
Step 5
There's also a power connector in the gaming console base. Plug that into the port adjacent to the HDMI port.
Step 6
The game controllers are connected to the Raspberry Pi board using the long connector coming from the top section of the console. There's a small notch on that connector. When placing that connector, have the notch facing towards the Raspberry Pi board, and gently press it into position. See here for drivers and code instructions to get the controllers speaking to the Pi.
Step 7
Place the top of the console back on the base and use the screws you removed in Step 1 to secure it into position.
Step 8
Connect the power adaptor. Then connect the gaming console to your TV or display using the supplied HDMI cable.
Play time
With everything connected, it's time to start playing. Power up your screen and ensure it's set to the correct HDMI input. Turn the console on using the switch between the power and HDMI cables on the back of the console unit. The console will start up and you'll see the RetroPie logo displayed. Use the joystick on the console to scroll through the different gaming emulators. Now it's time to download, install some ROMS and get gaming!
We're excited to see what else you've done with Raspberry Pi or RetroPie. If you've created one of these projects or something else altogether, share it with us at https://projects.jaycar.com/ or tag us on Facebook and Instagram.