Laser Beam Timer
Summary
Here's a handy little project that uses a little known feature of LEDs, and also has a laser in it, which makes it even cooler. We shine a Laser Module at the LED, and the LED actually generates a voltage depending on how much light is shining on it. We use an Arduino to measure this voltage, and if the beam is broken, then we can record the time to use it as a precise timer. You could use it like a race lap timer (for slot cars!), or to measure the speed of falling objects. Some soldering is required.
Materials Required
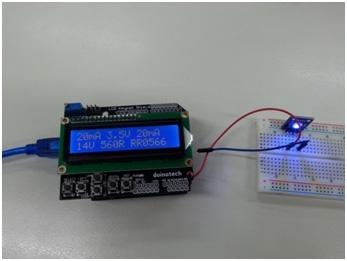
| 1 | Duinotech UNO r3 Main Board | XC4410 |
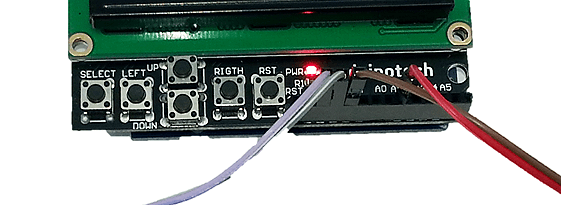
| 1 | Duinotech Arduino Compatible 2 X 16 LCD Screen Display with Controller | XC4454 |
| 1 | Duinotech Arduino Compatible Red Laser Diode Module | XC4490 |
| 1 | Duinotech Arduino Compatible Infrared Transmitter Module | XC4426 |
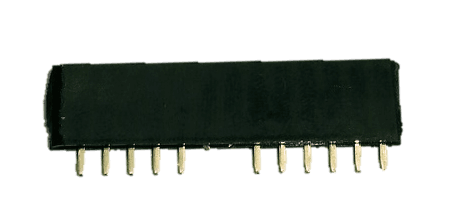
| 1 | 40 Pin Female Header Strip | HM3230 |
| 1 | 150mm Plug to Socket Jumper Leads - 40 Pieces | WC6028 |
Table of Contents

Future Improvements
As noted above, the break mode is ideal for measuring speed if you know the length of an object as it passes the beam. Both this and the lap timer would make it an ideal accessory for a slot-car set. You could add some lap-counting and a second laser and sensor to turn it into a complete race computer, showing laps travelled, last lap time, total time and even speed on crossing the finish line.
Similar projects you may be interested in