LEGO® is awesome, but you can make it even more fun by adding some lights to brighten up your creations.
Adding some lights to your LEGO® creations is a great way to boost creativity and teach your kids a few simple electronics principles. In this project, we're going to create a small building and place a light inside it, however, you can apply these principles to any creation.
What you need
- LEGO® blocks to build your house. We recommend using some windows and doors so you can see the fully lit project
- 1 round and clear white 3mm LED 1000mcd
- different wires is useful as you can use it for different projects. For this project, use the red and black wires.)
- Soldering iron and solder
- 2AA switched battery holder
- AA batteries
- Side cutters
- Electrical tape
Make a light-up LEGO® house
To keep this project simple, we're going to run the wires along the outside of our building and use tape to keep things in place. But as you get more confident, you can use a rotary tool to carefully drill small holes through LEGO® blocks to hide your wires inside. If you decide to drill through pieces of LEGO® to hide your wires, go slowly and use water to keep things cool. The friction from the drill bit can get quite warm and possibly melt your LEGO® pieces.
Step 1
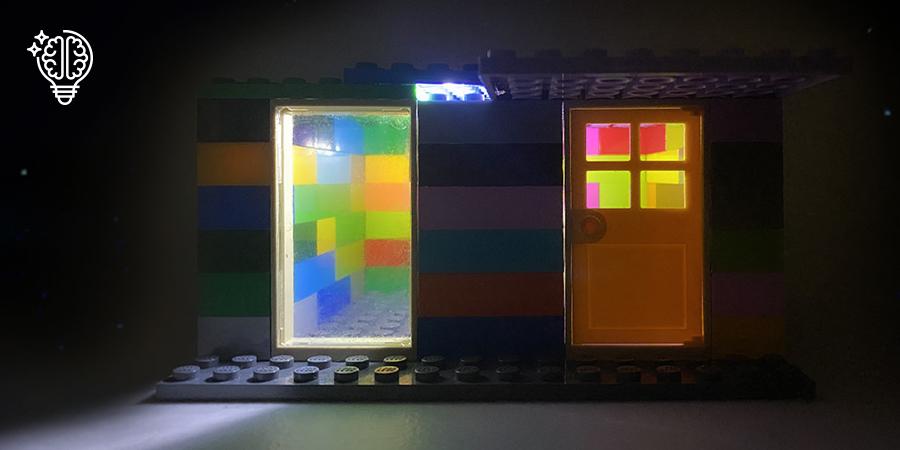
Start by constructing your LEGO® house. Make it whatever size and style you like! When building, leave a gap in the roof about the size of one block. This is where we'll add the light at the very end of the project. For good measure, we also added a door and a couple of windows – so we'll be able to see the lights when they're on.
Step 2
Pick up your two pieces of electrical wire. Strip the insulation on one end only of each wire by carefully using the side-cutters, leaving about 1cm bare.
Step 3
Look at the LED. You'll notice that one of the 'legs' coming out of the bottom of the LED is longer than the other. This is the positive electrode, or anode. The shorter one is the cathode, or negative electrode. Solder the black wire to the shorter electrode and the red wire to the longer electrode. Let that all cool thoroughly before proceeding. Once cool, use a small amount of electrical tape to cover the soldered connections.
Step 4
You now have two wires connected to the LED. Strip about 1cm of insulation from the free end of each wire.
Step 5
Take the battery holder. You'll notice it also has two wires emerging from it – one red and one black. Using the side cutters, strip about 1cm of the insulation from these wires. Apply some solder to the ends to stop them from fraying. This is known as 'tinning' the ends.
Step 6
Solder the black wire coming from the negative side of the LED to the black wire leading out of the battery holder. Let it cool thoroughly and wrap about 1.5cm of electrical tape around the connection.
Step 7
Solder the red wire coming from the positive side of the LED to the red wire leading out of the battery holder. Let it cool thoroughly, then wrap about 1.5cm of electrical tape around the connection. Now you're ready to test your creation!
Testing your LED
Place two AA batteries into the battery holder and turn it on using the switch. If everything is put together correctly the LED will light up. Turn it off before proceeding to the next step.
Installing the light
Once you're sure everything is working, it's time to light up the building you created at the start of the project. If you recall, we left a gap in the roof for the light.
Use some electrical tape, attach the light to a piece of LEGO® that will cover the gap in the roof. Then click the piece of LEGO® into place. Put the batteries back into the enclosure, flick the switch and the light in your house will be lit.
Extra ideas for young makers
Now that you've created your light-up LEGO® house, you can start lighting up your other LEGO® creations! Try building a light-up Christmas tree to celebrate Christmas in July, or even giving a LEGO® car headlights and tail lights. Don't forget to share your LEGO® creations online with us on Facebook!